
How to Make DIY Bookmarks
Cozy up and grab a good book! Today we will be making DIY bookmarks, these make great last minute gifts or stocking stuffers for the bookworms in your life.
The supplies for the project are:
A printed out bookmark template from our Design Library
Scissors
Pencil crayons
Clear contact paper
A hole punch
String or ribbon
A scrapper (optional)
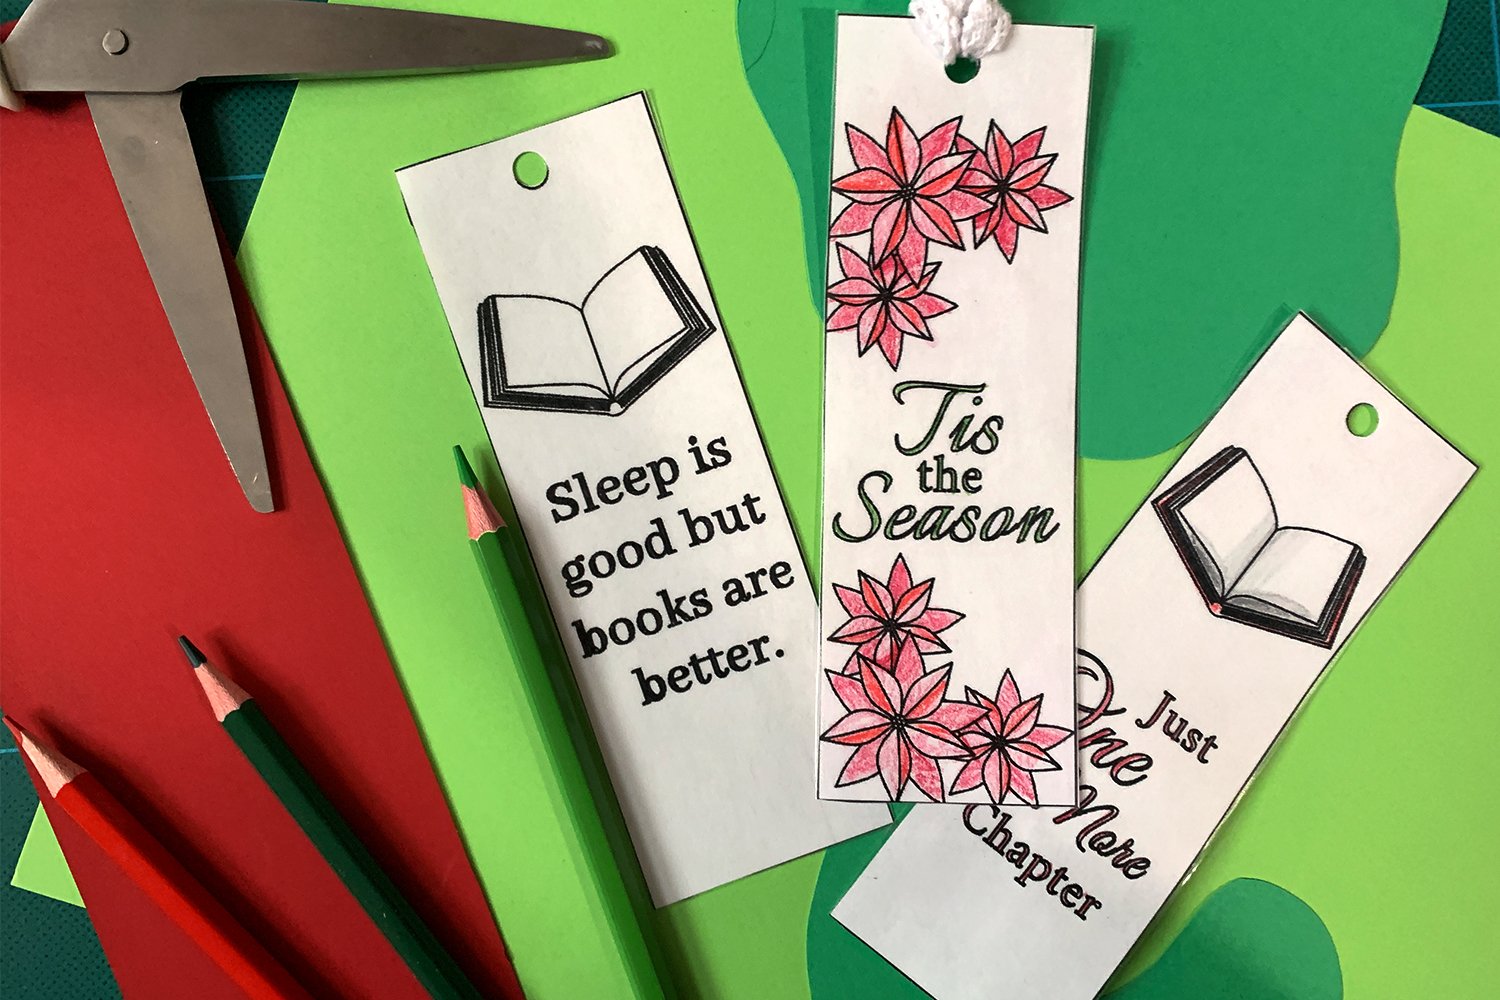
Begin by printing out one or more of our bookmark templates. Feel free to customize these in our Designer for an extra special touch!
Next color in your bookmark with pencil crayons. With the bookmark colored, you can go ahead and cut it out.
Cut out a piece of clear contact paper large enough to wrap around the bookmark. Peel the backing off the contact paper and carefully place your bookmark facedown on one size of the contact paper. Fold the contact over sticking it to the back of the bookmark to create a plastic barrier around your bookmark. Push out any little air bubbles with your fingers or a scrapper. Trim off any excess contact paper. Use the hole punch to punch through the hole at the top of the bookmark.
Cut a piece of string or ribbon and create a tassel at the top of the bookmark. Voila! You have made a beautiful bookmark that can be used for years to come.