How to Make Woodburning Art
Art can be created with anything. I have used the Picture Stencil maker on Rapid Resizer to make art using wood and HEAT! The Picture Stencil Maker is the perfect tool for turning your photos into traceable black and white images for pyrography. Wood burning is a fun and unique way to record your art - the best part is you get to burn things!
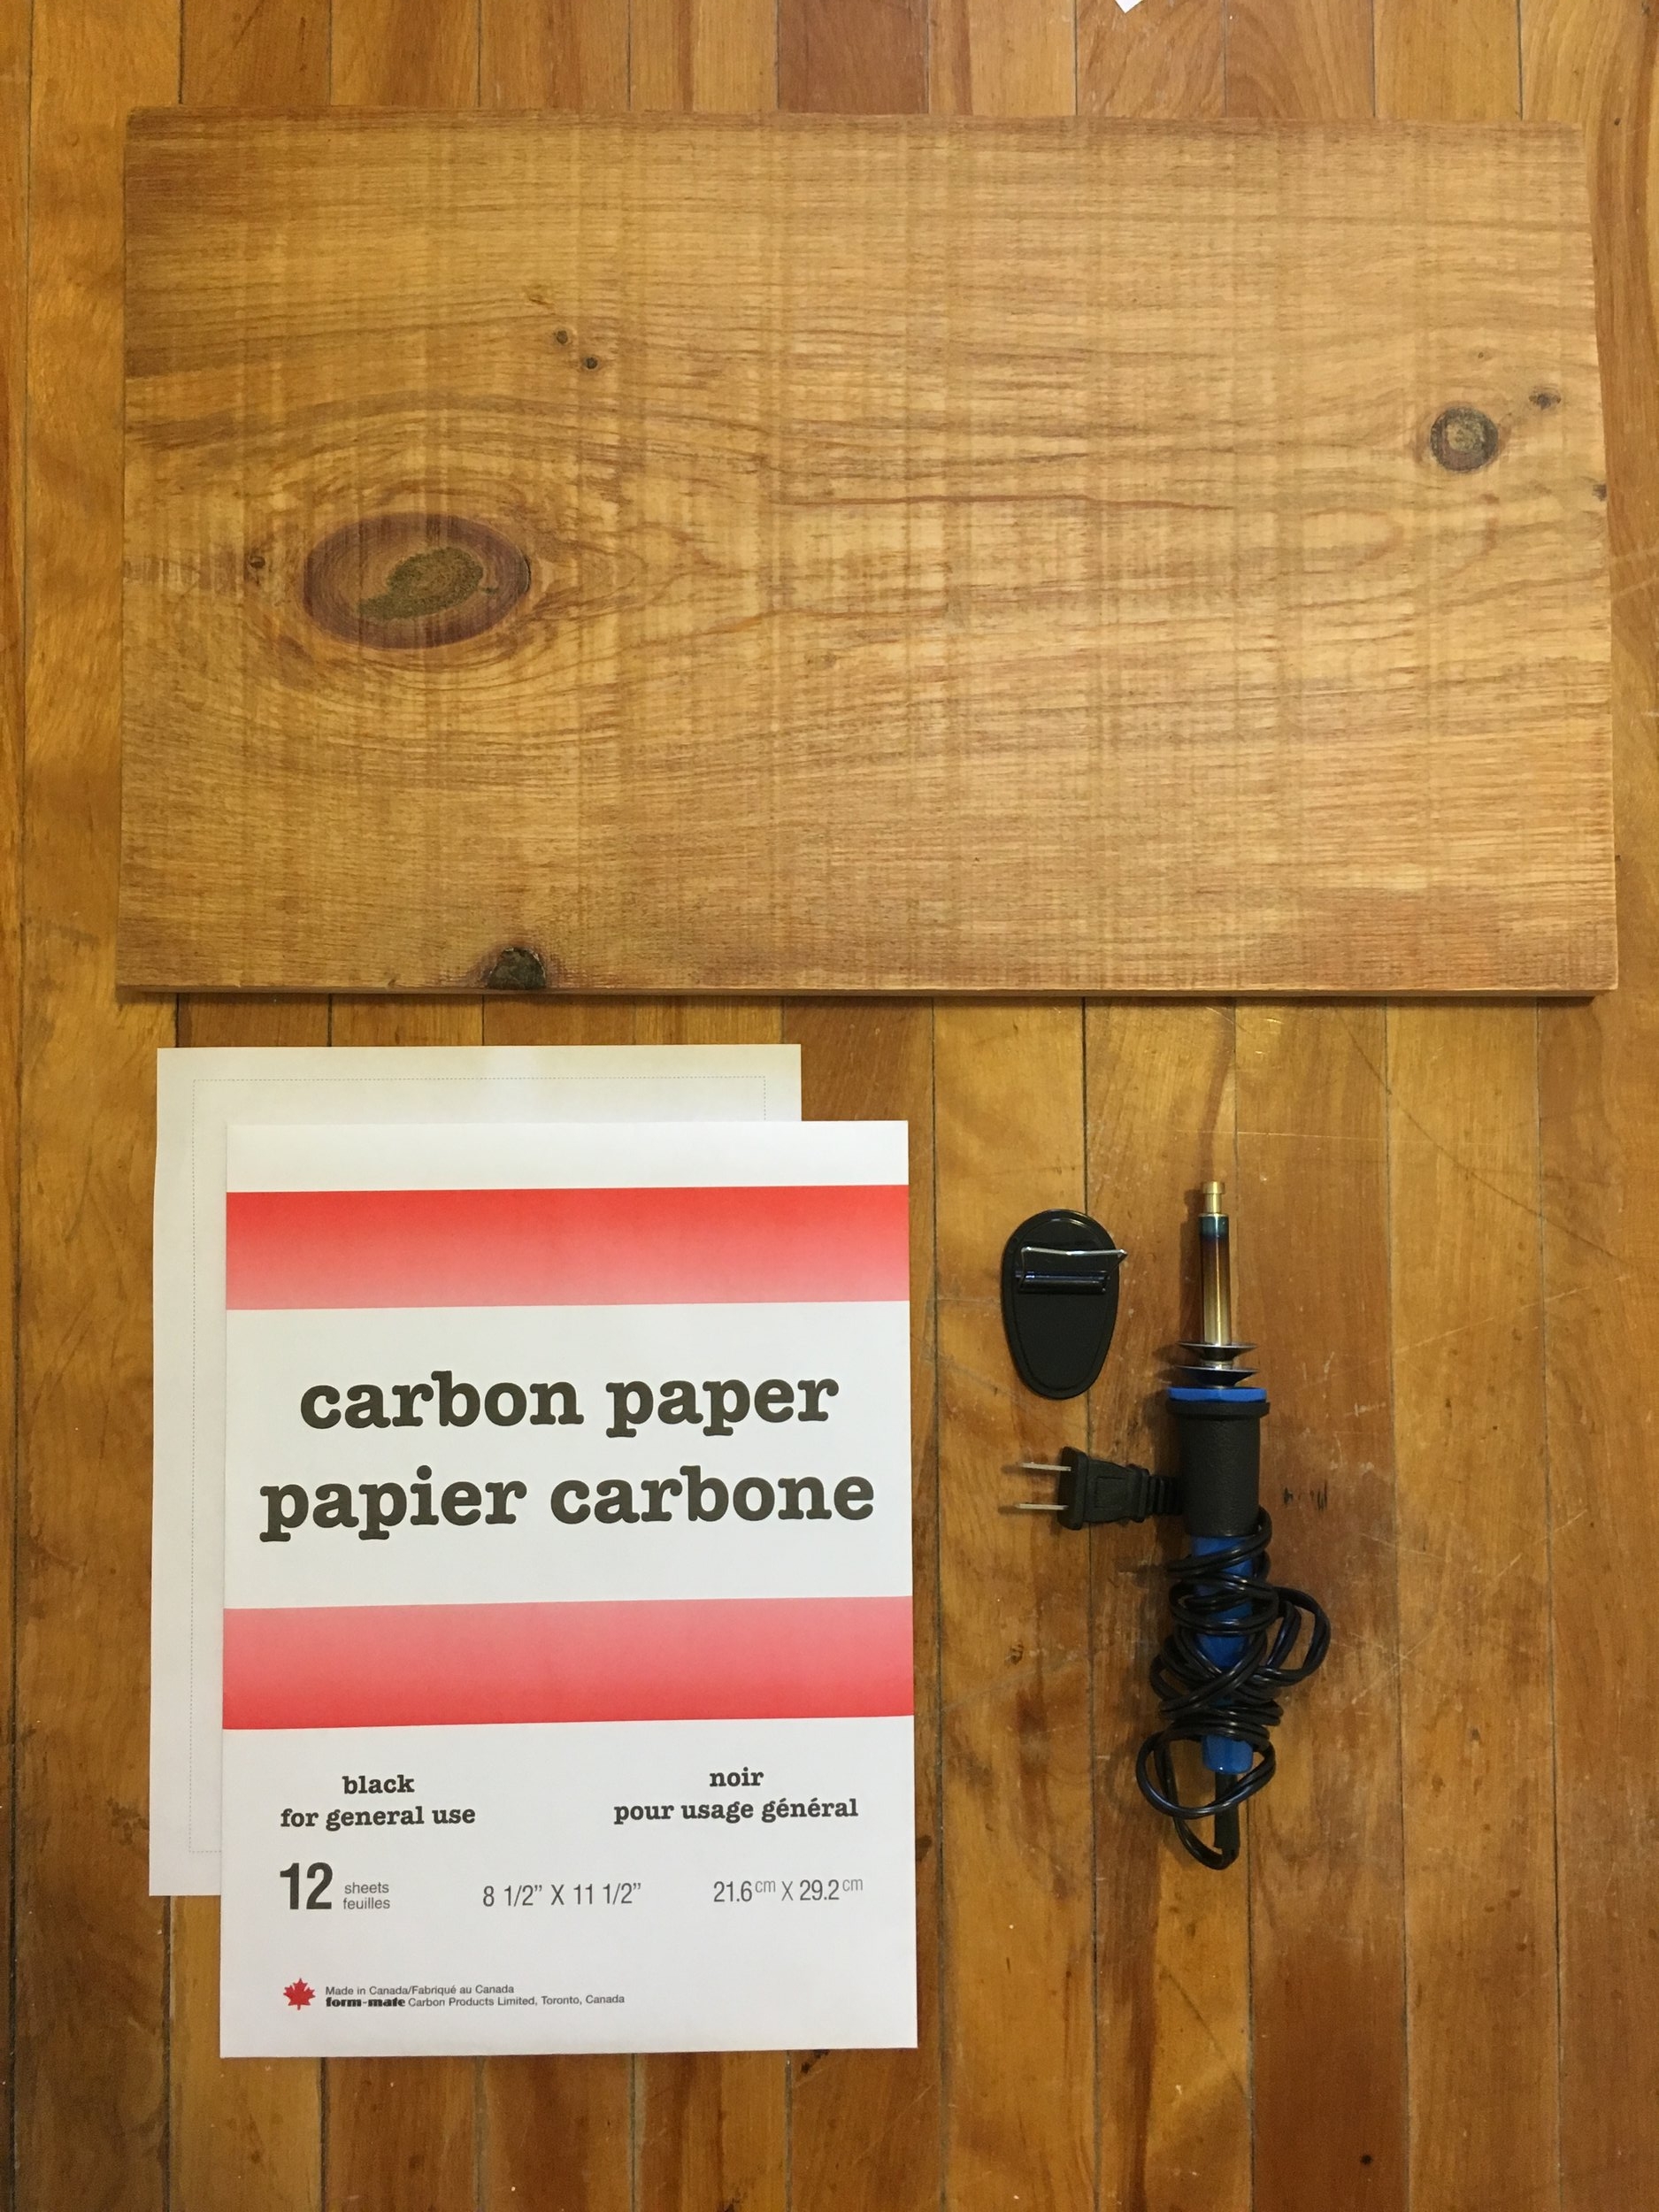
If you do not have a wood burning pen, they are available online and most hardware stores. They cost around $20-$80. This was my first experience using this technique and I learned as I went. I recommend practicing on the back side of your wood or a scrap piece because this method is very unforgiving. I gave my piece of wood a thorough sanding before I began my project so that it was less ridgey. This made the pen glide with more ease. Carbon paper as an image transfer method also worked beautifully. You can also reuse the carbon sheets so they are a great crafting asset.
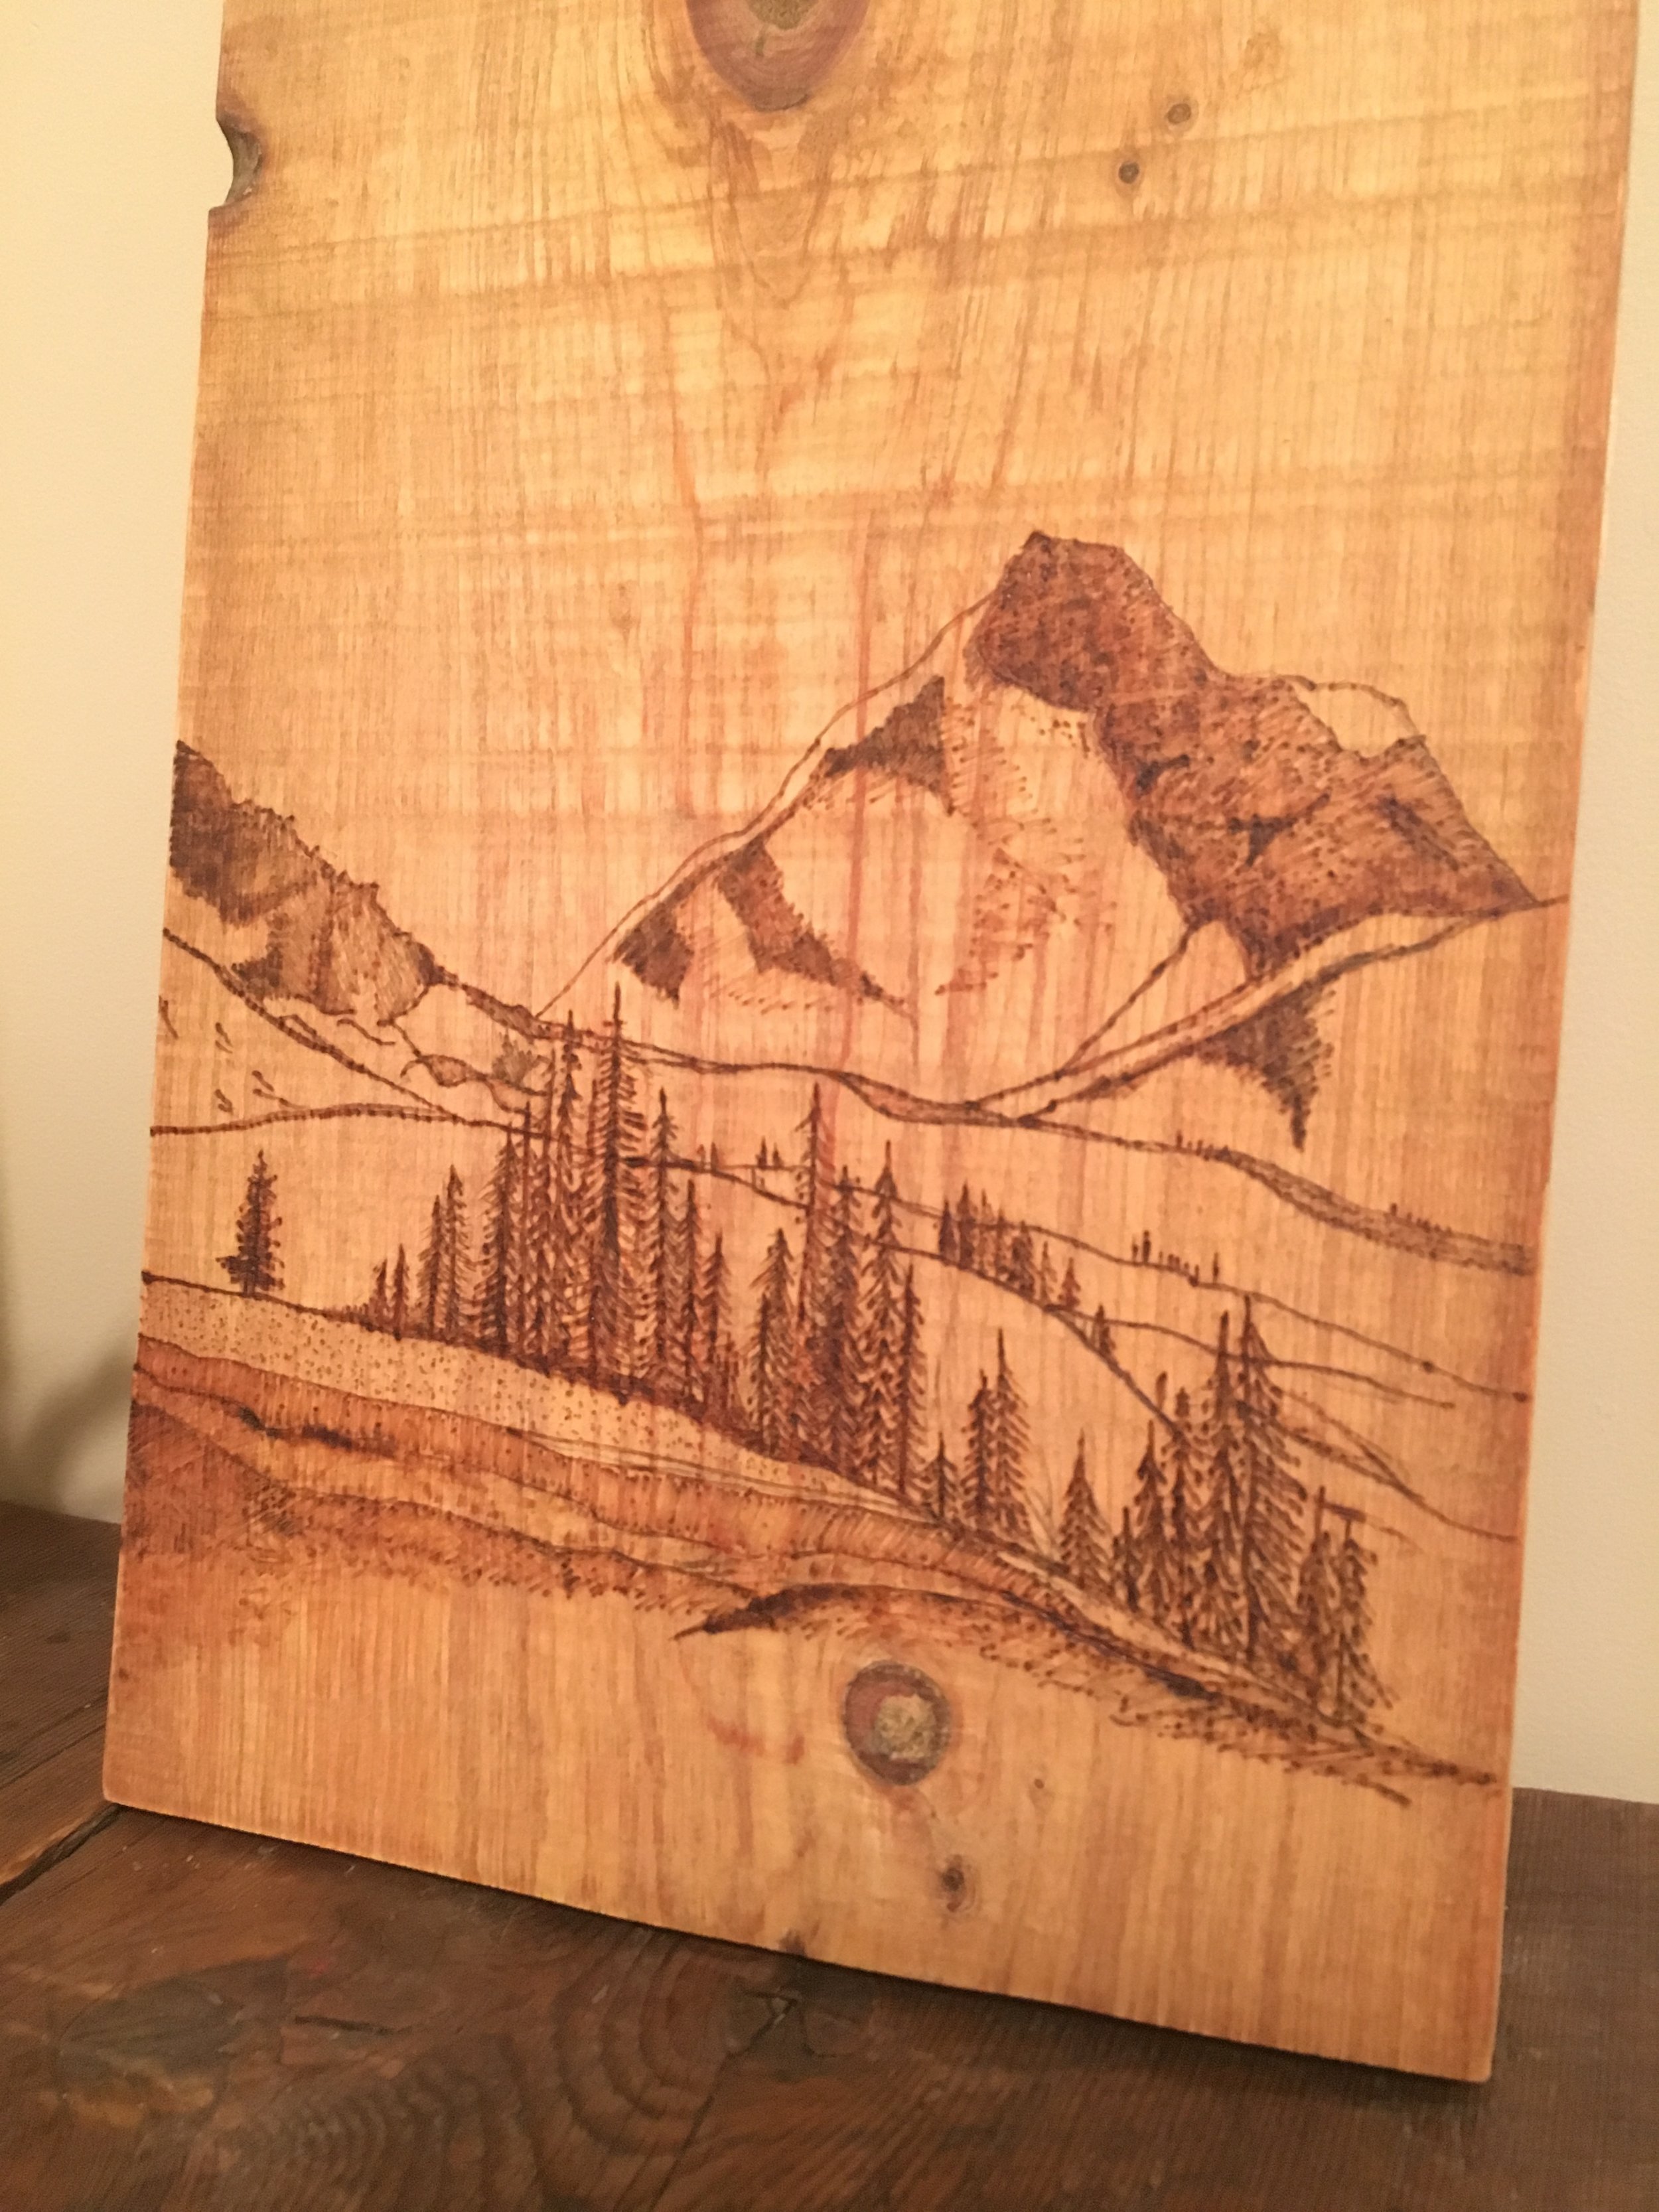
I loved trying this technique! Wood burning with stencils can turn your photos into a beautiful, organic work of art.
What you'll need:
- a wood burning kit
- a piece of wood
- carbon paper
- sand paper (optional)
Make a woodburning design with Rapid Resizer's Picture Stencil Maker.
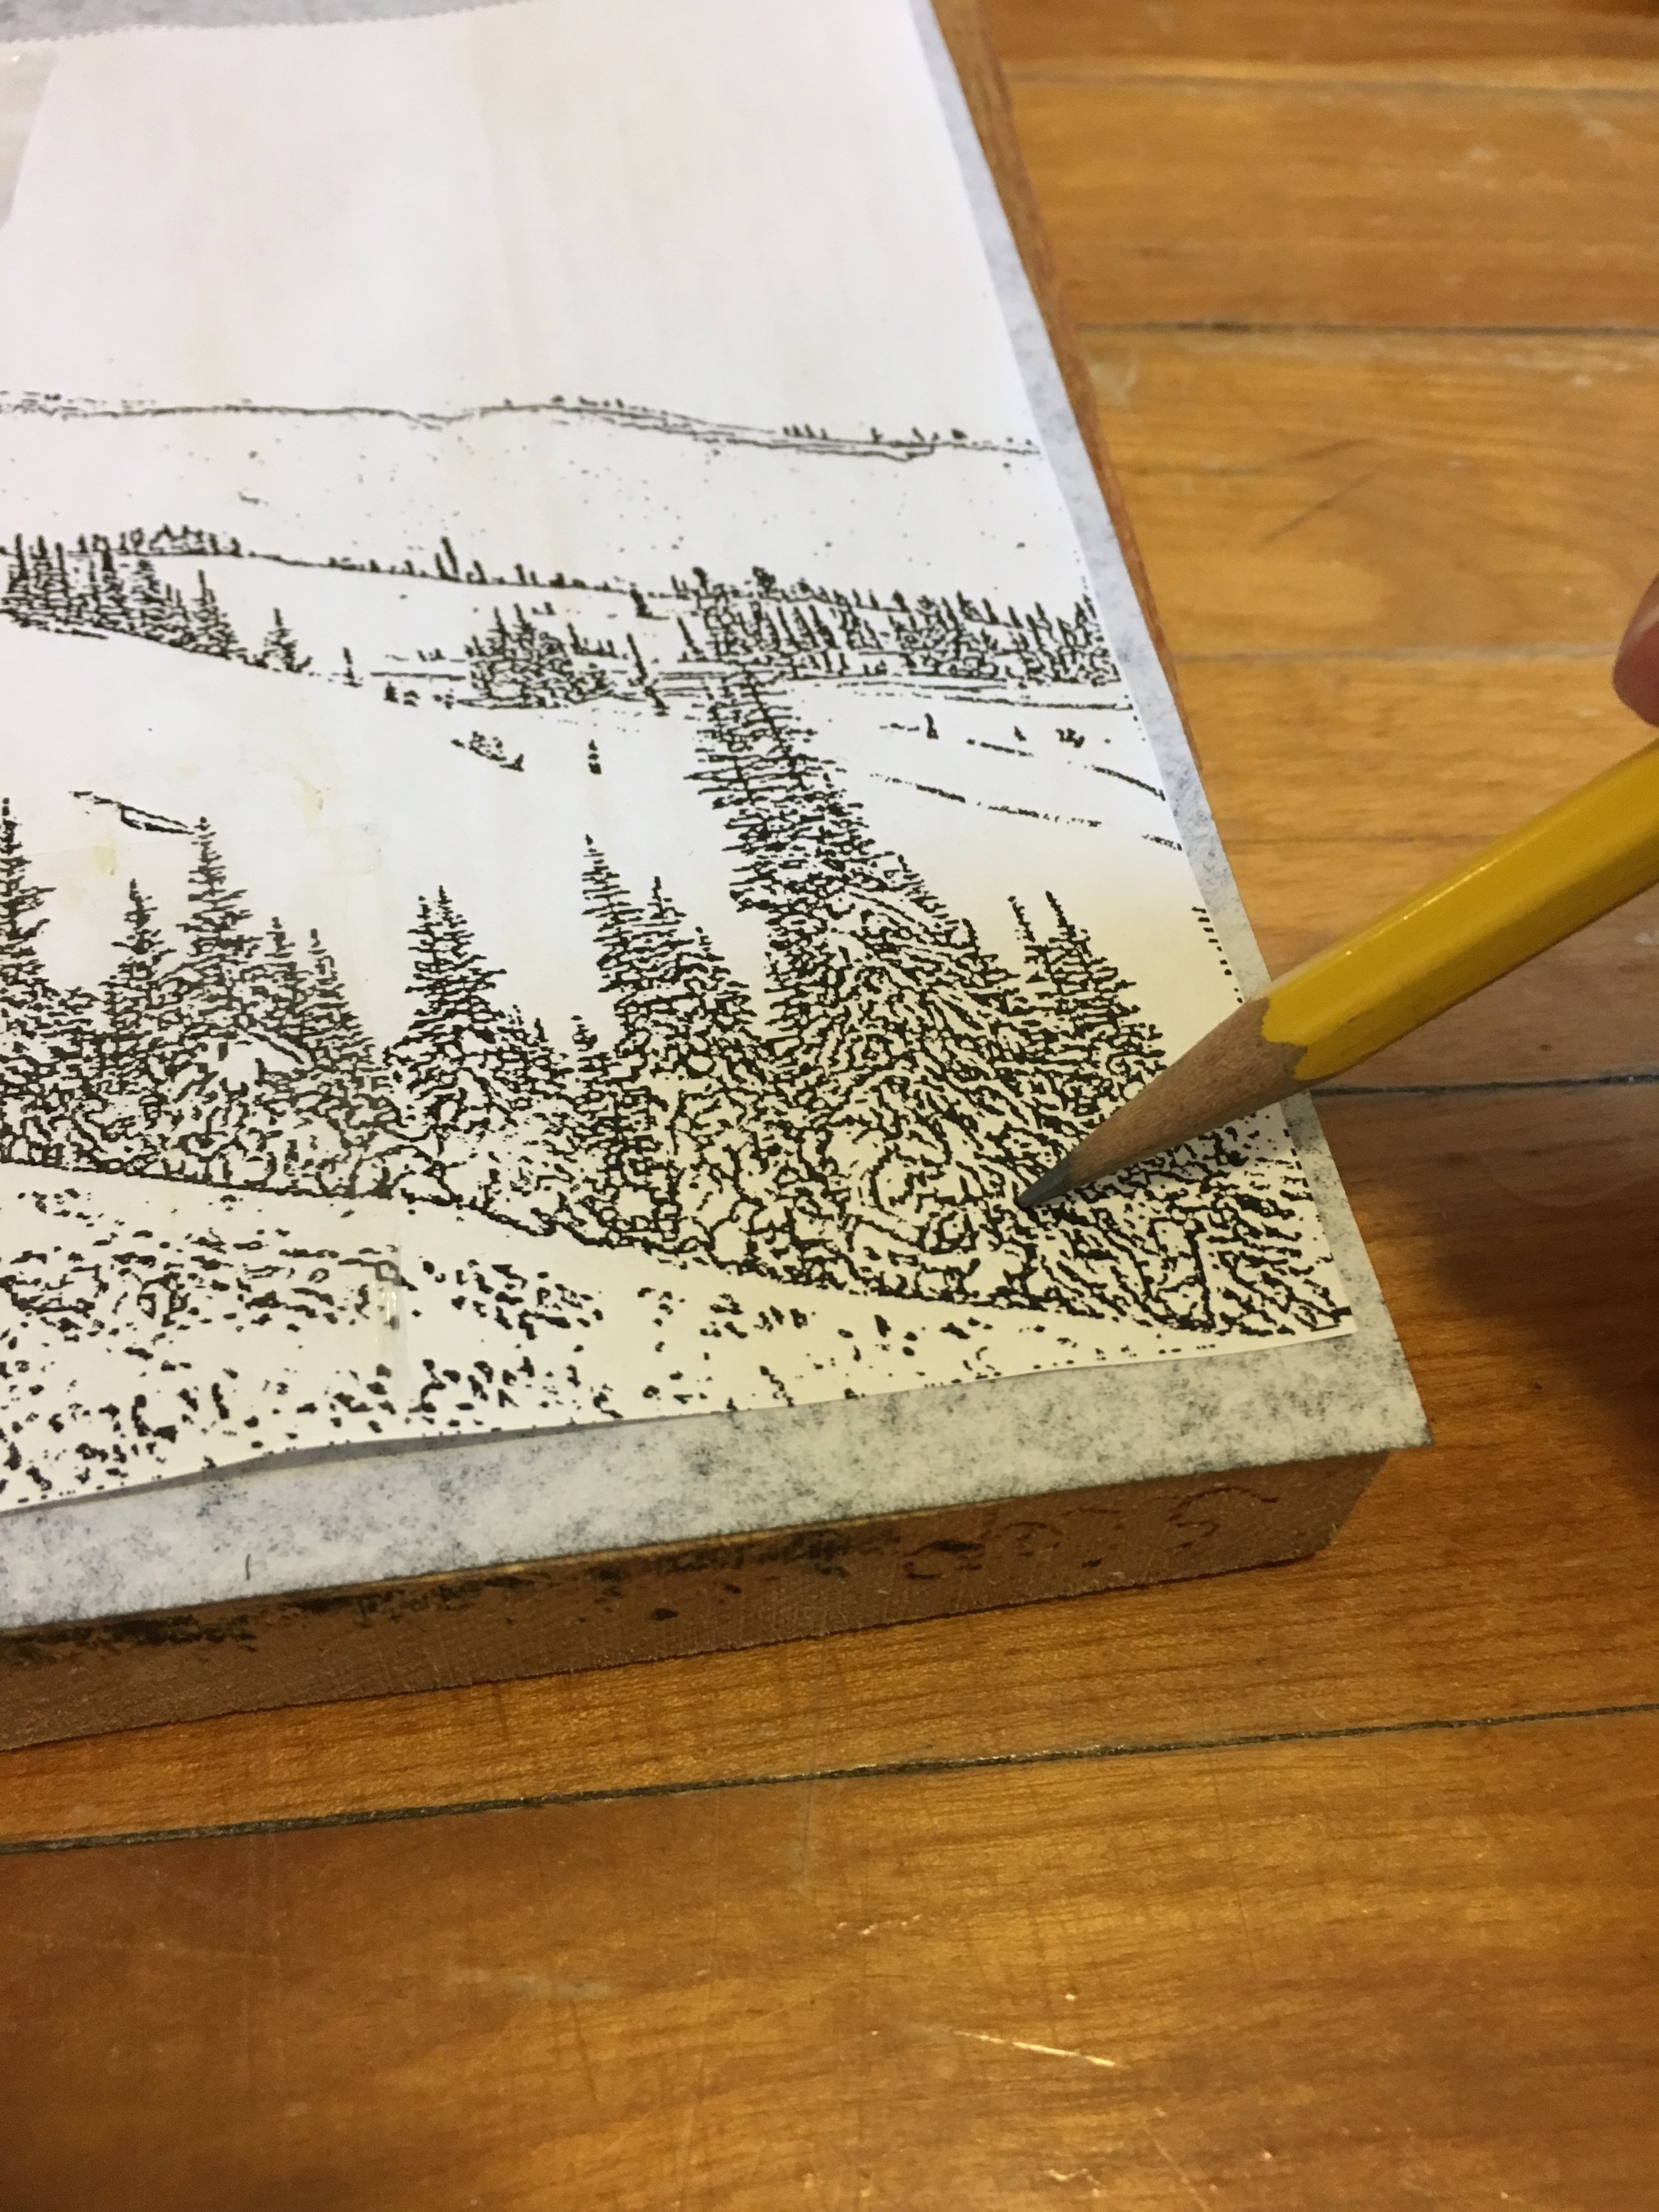
Step 1: Place the carbon paper dark side down on your piece of wood. Place your image on top and tape both pieces of paper down so that they don't shift. Carefully trace over your image with a sharp pen or pencil.
Step 2: Remove the carbon paper once you have traced your image. Don't worry about the details, you can use your image as a guide as you burn your design.

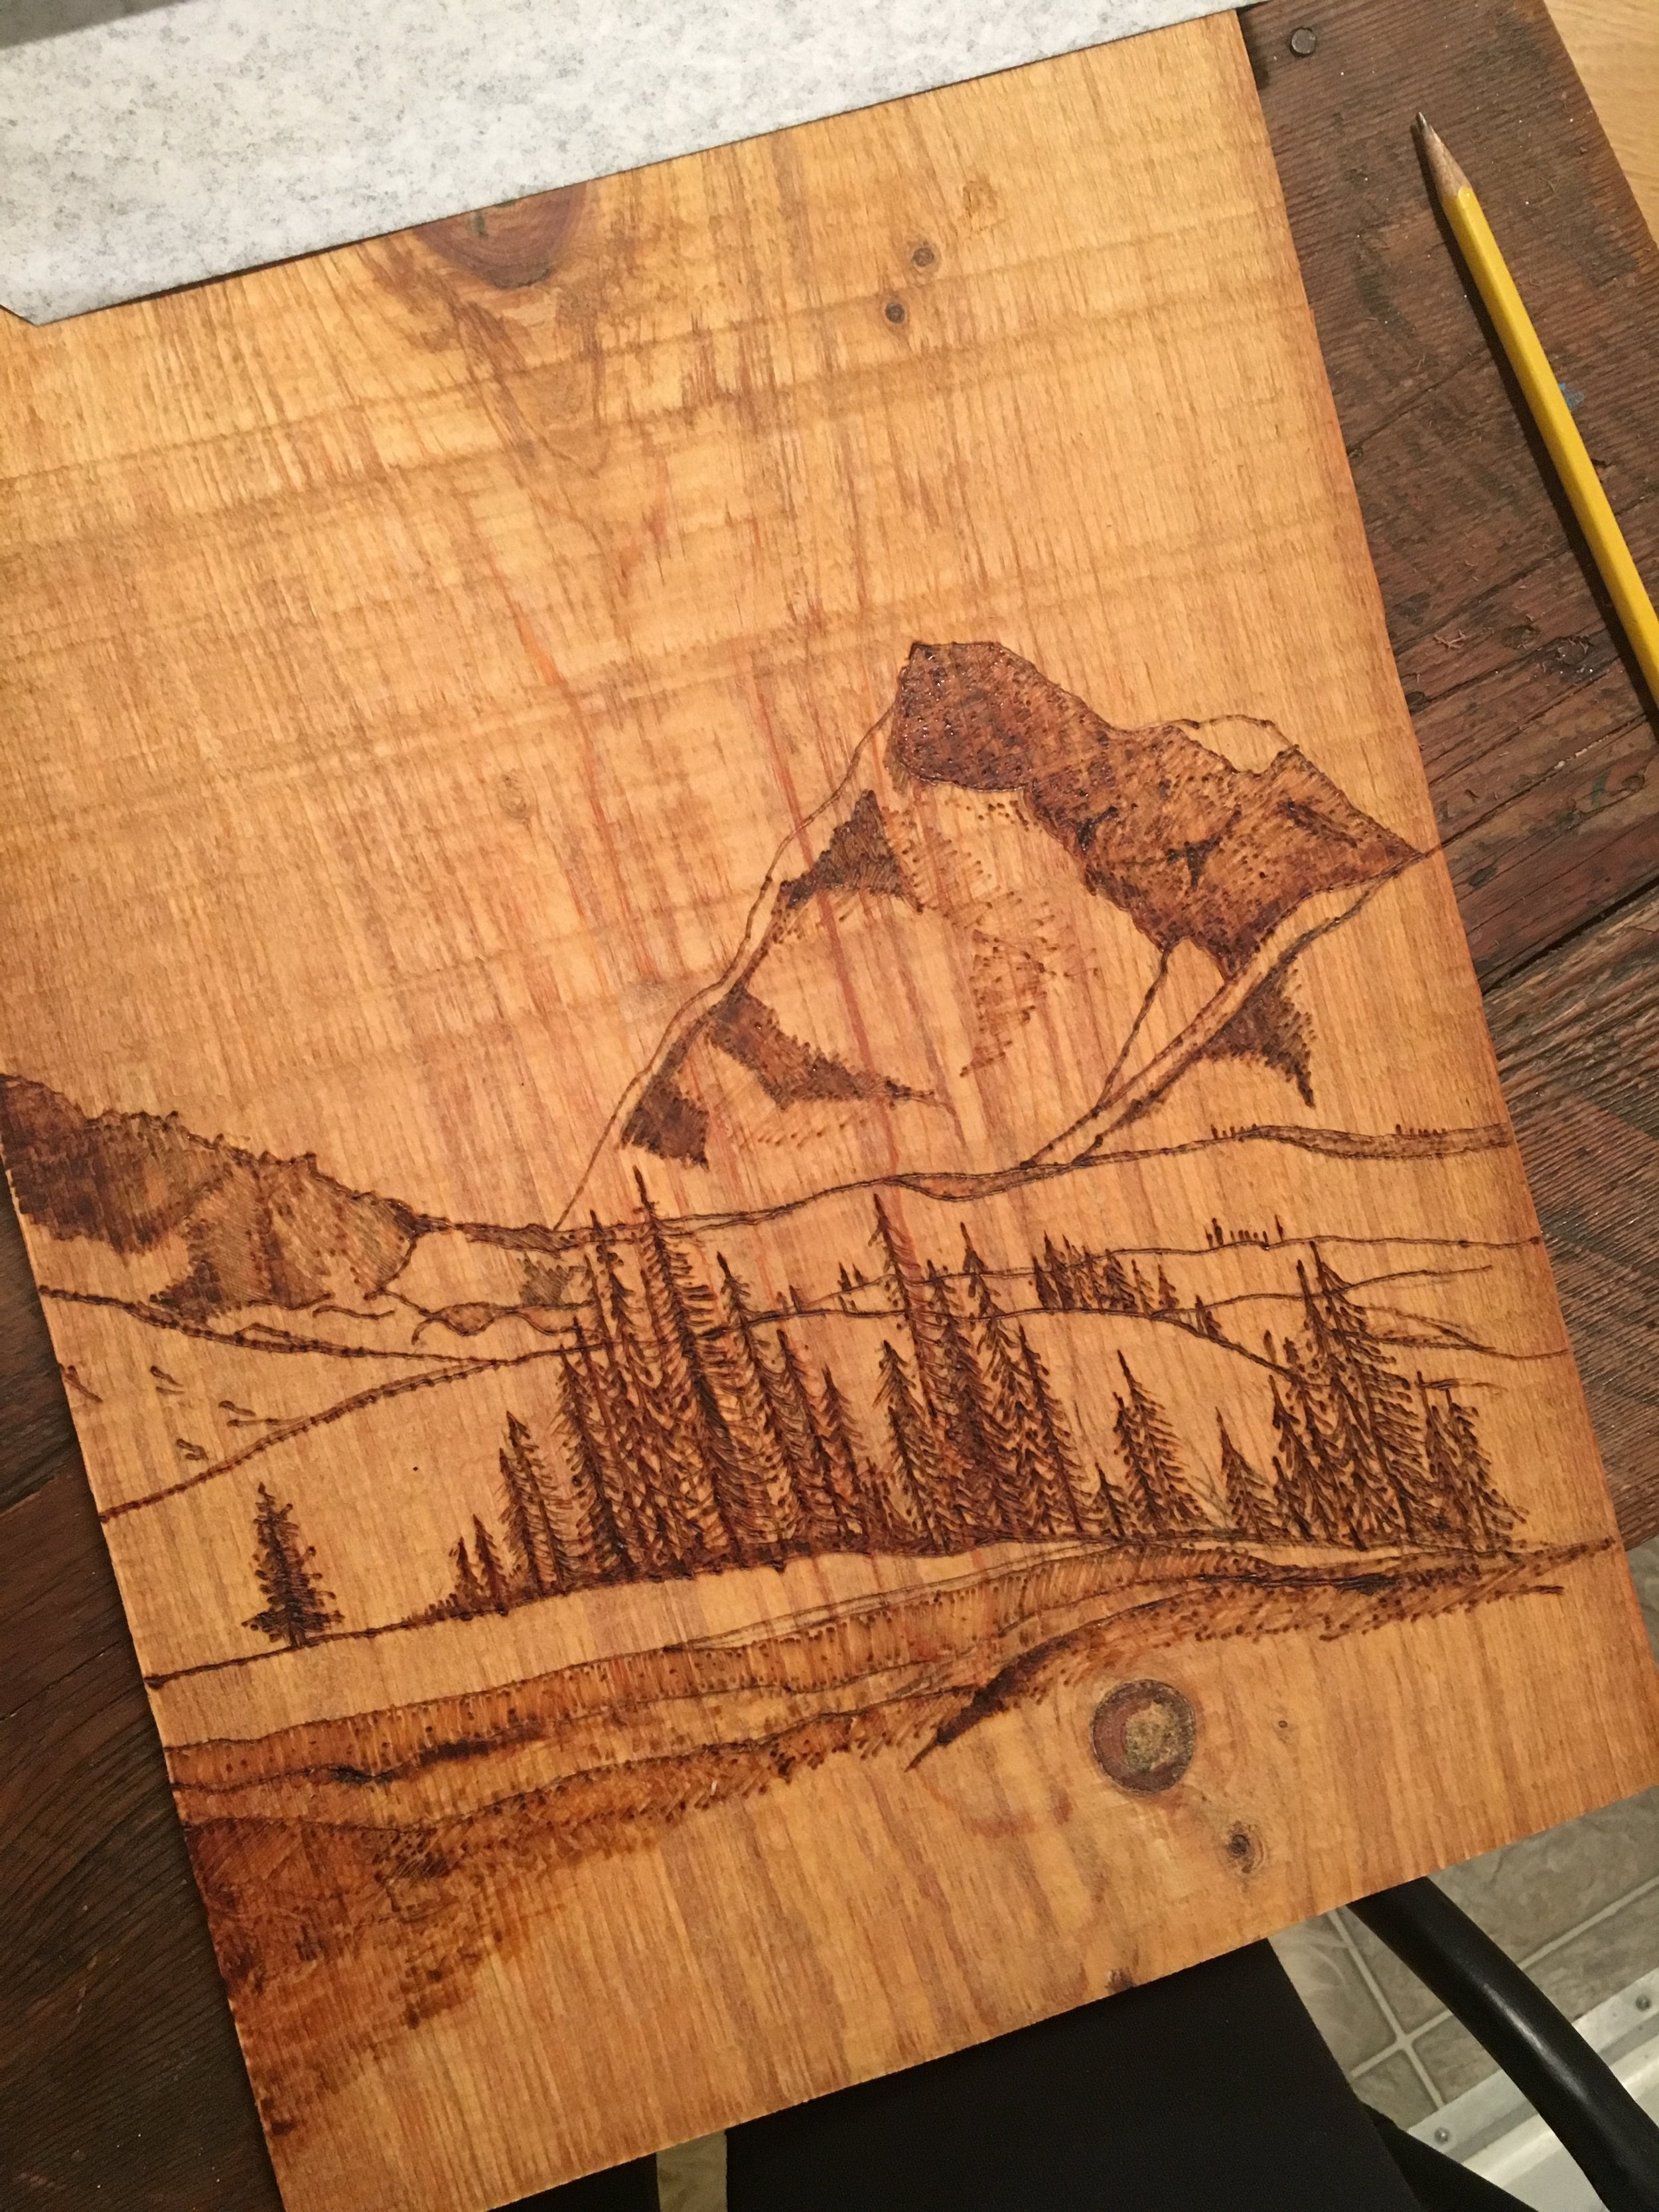
Step 3: Trace over your design with the wood burning pen. You can experiment with different tips for different intensities and textures.

Step 4: Add any final touches to your design!