
Block printing tutorial

This week I tried a new art form: block printing. Block printing or linocut print making, is done by carving a design in linoleum and using it as a stamp. By removing the negative space around a design, you can achieve a professional looking print that can be duplicated again and again. These print make beautiful cards and stationary.
Carving linoleum reminded me of wood carving. It requires similar tools and techniques, but is much easier to work with as a beginner.
For this craft I used Rapid Resizer to turn a photo into a line drawing for my linocut design. I printed my design and then traced it on to the linoleum using my favourite carbon paper image transfer method.

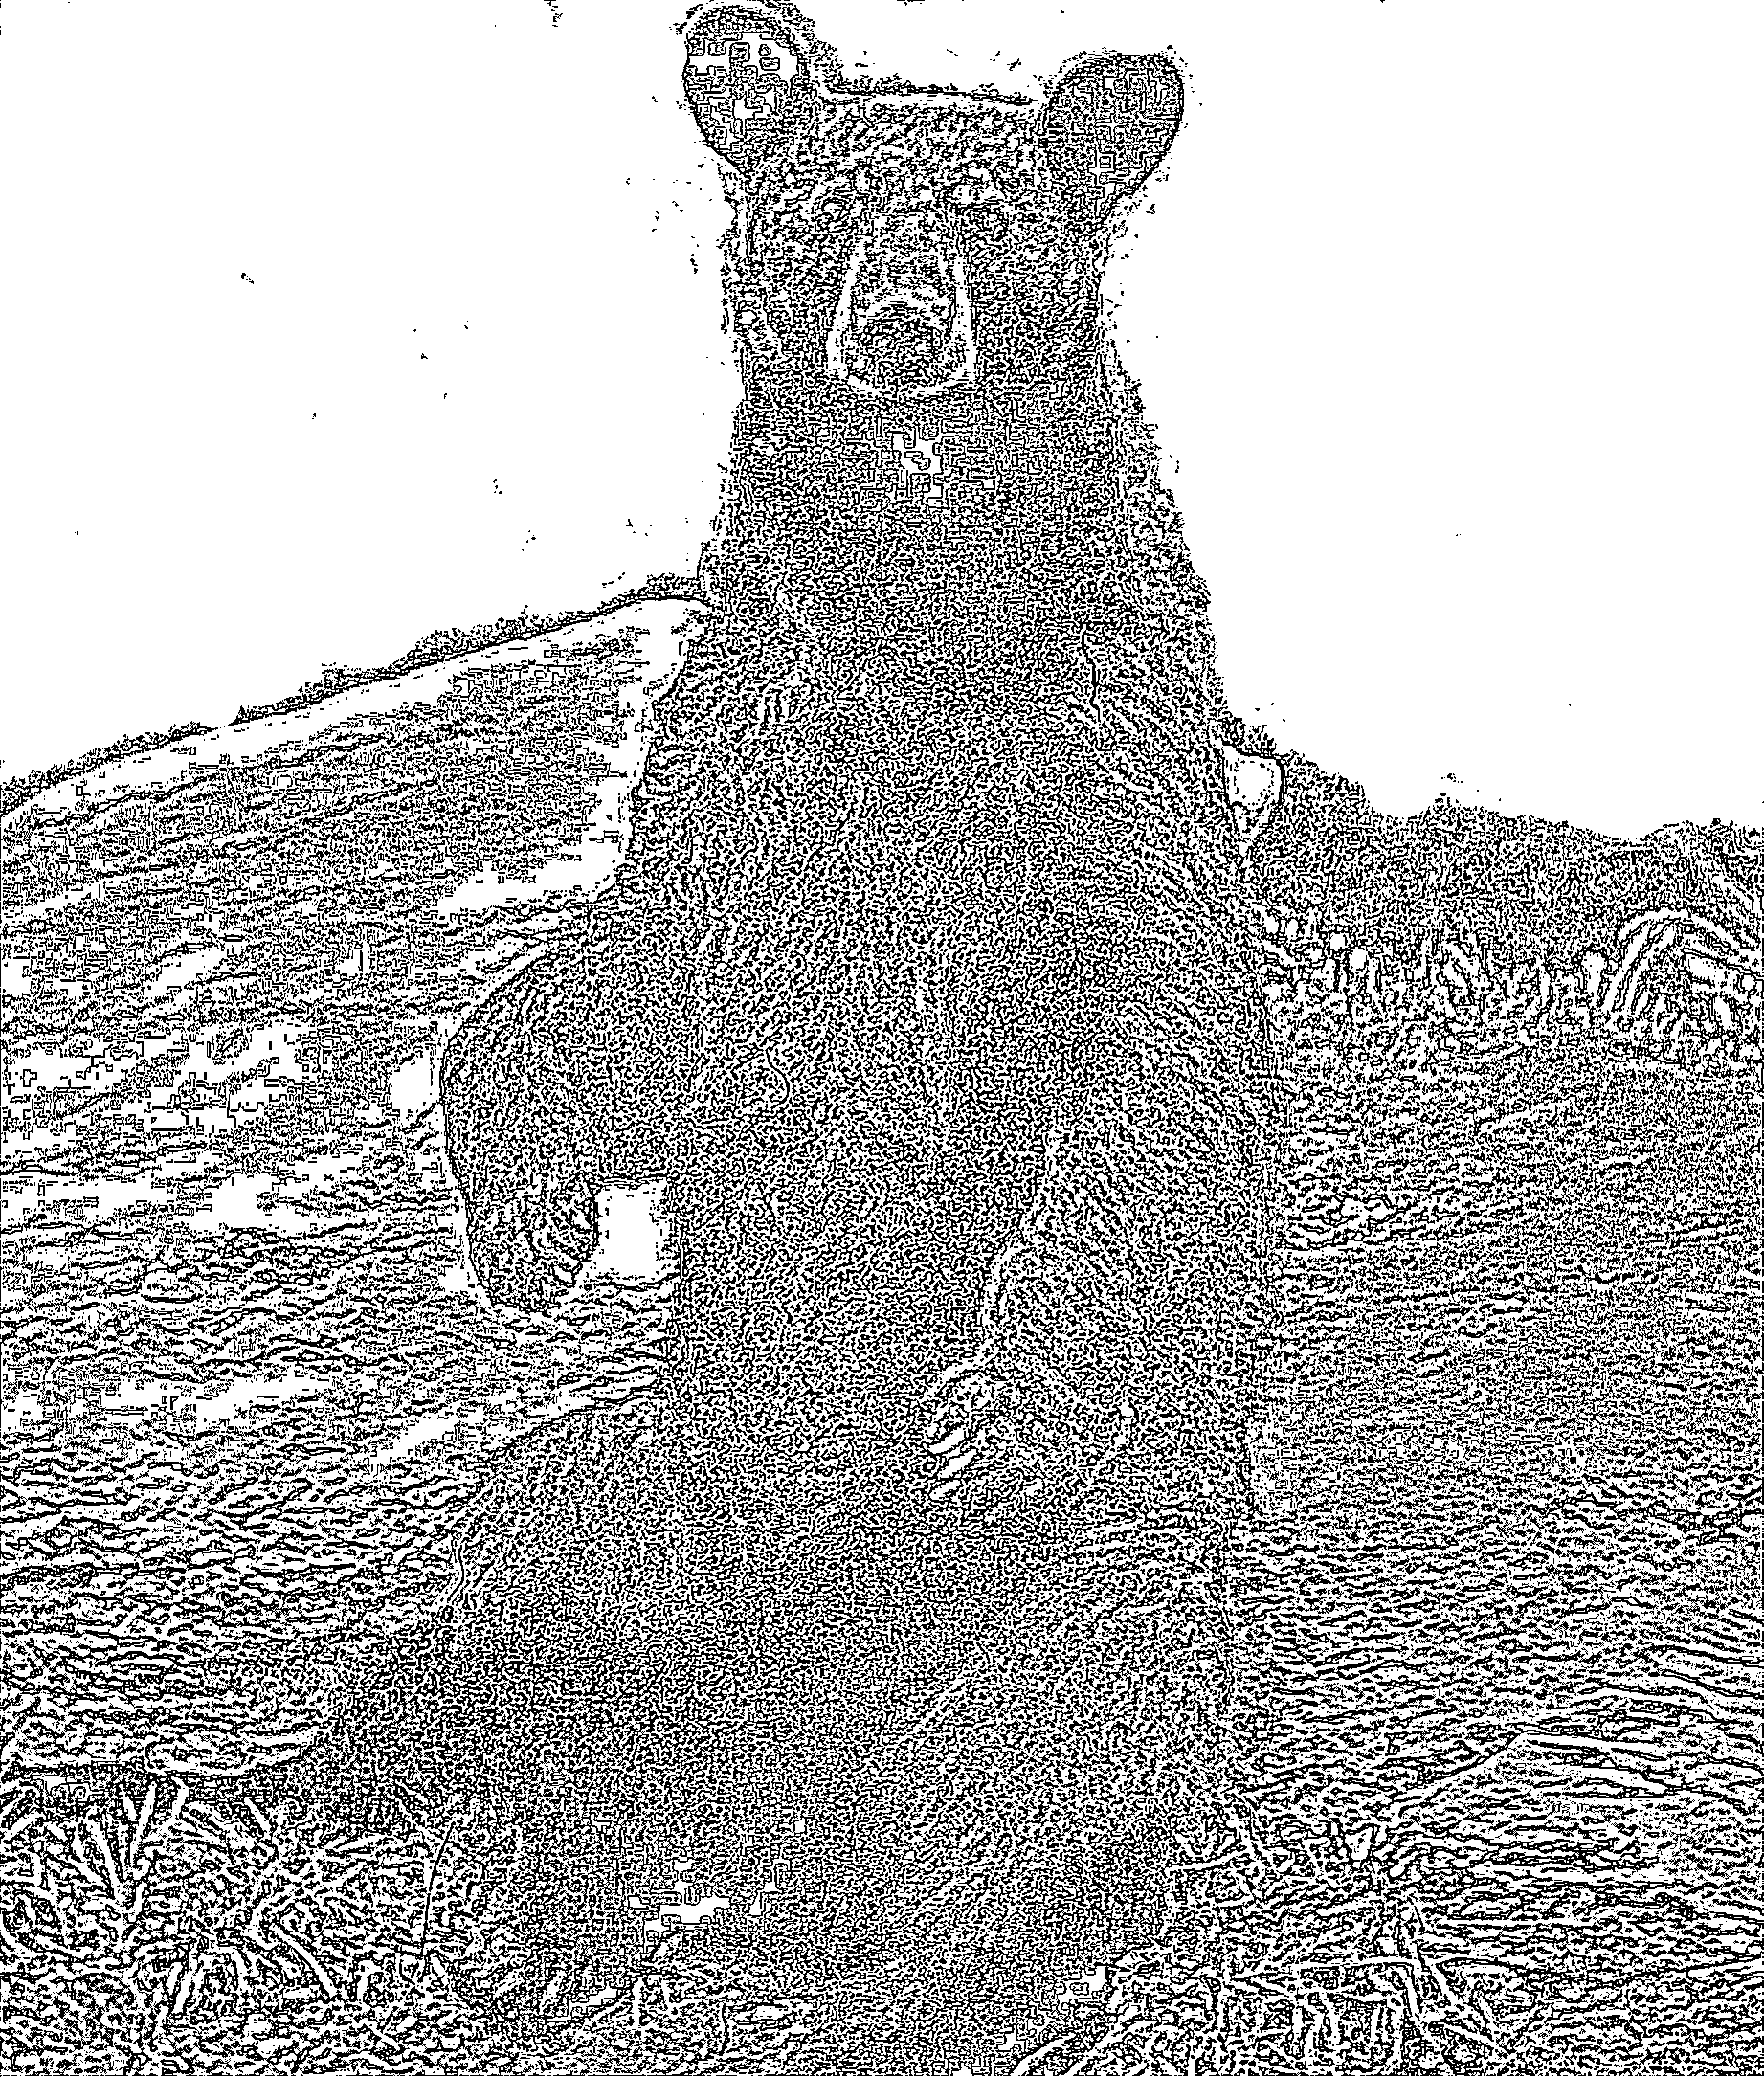
By turning my photo into a line drawing, I was able to see the darker and lighter areas of my design and carve accordingly. (And save color printer ink!)
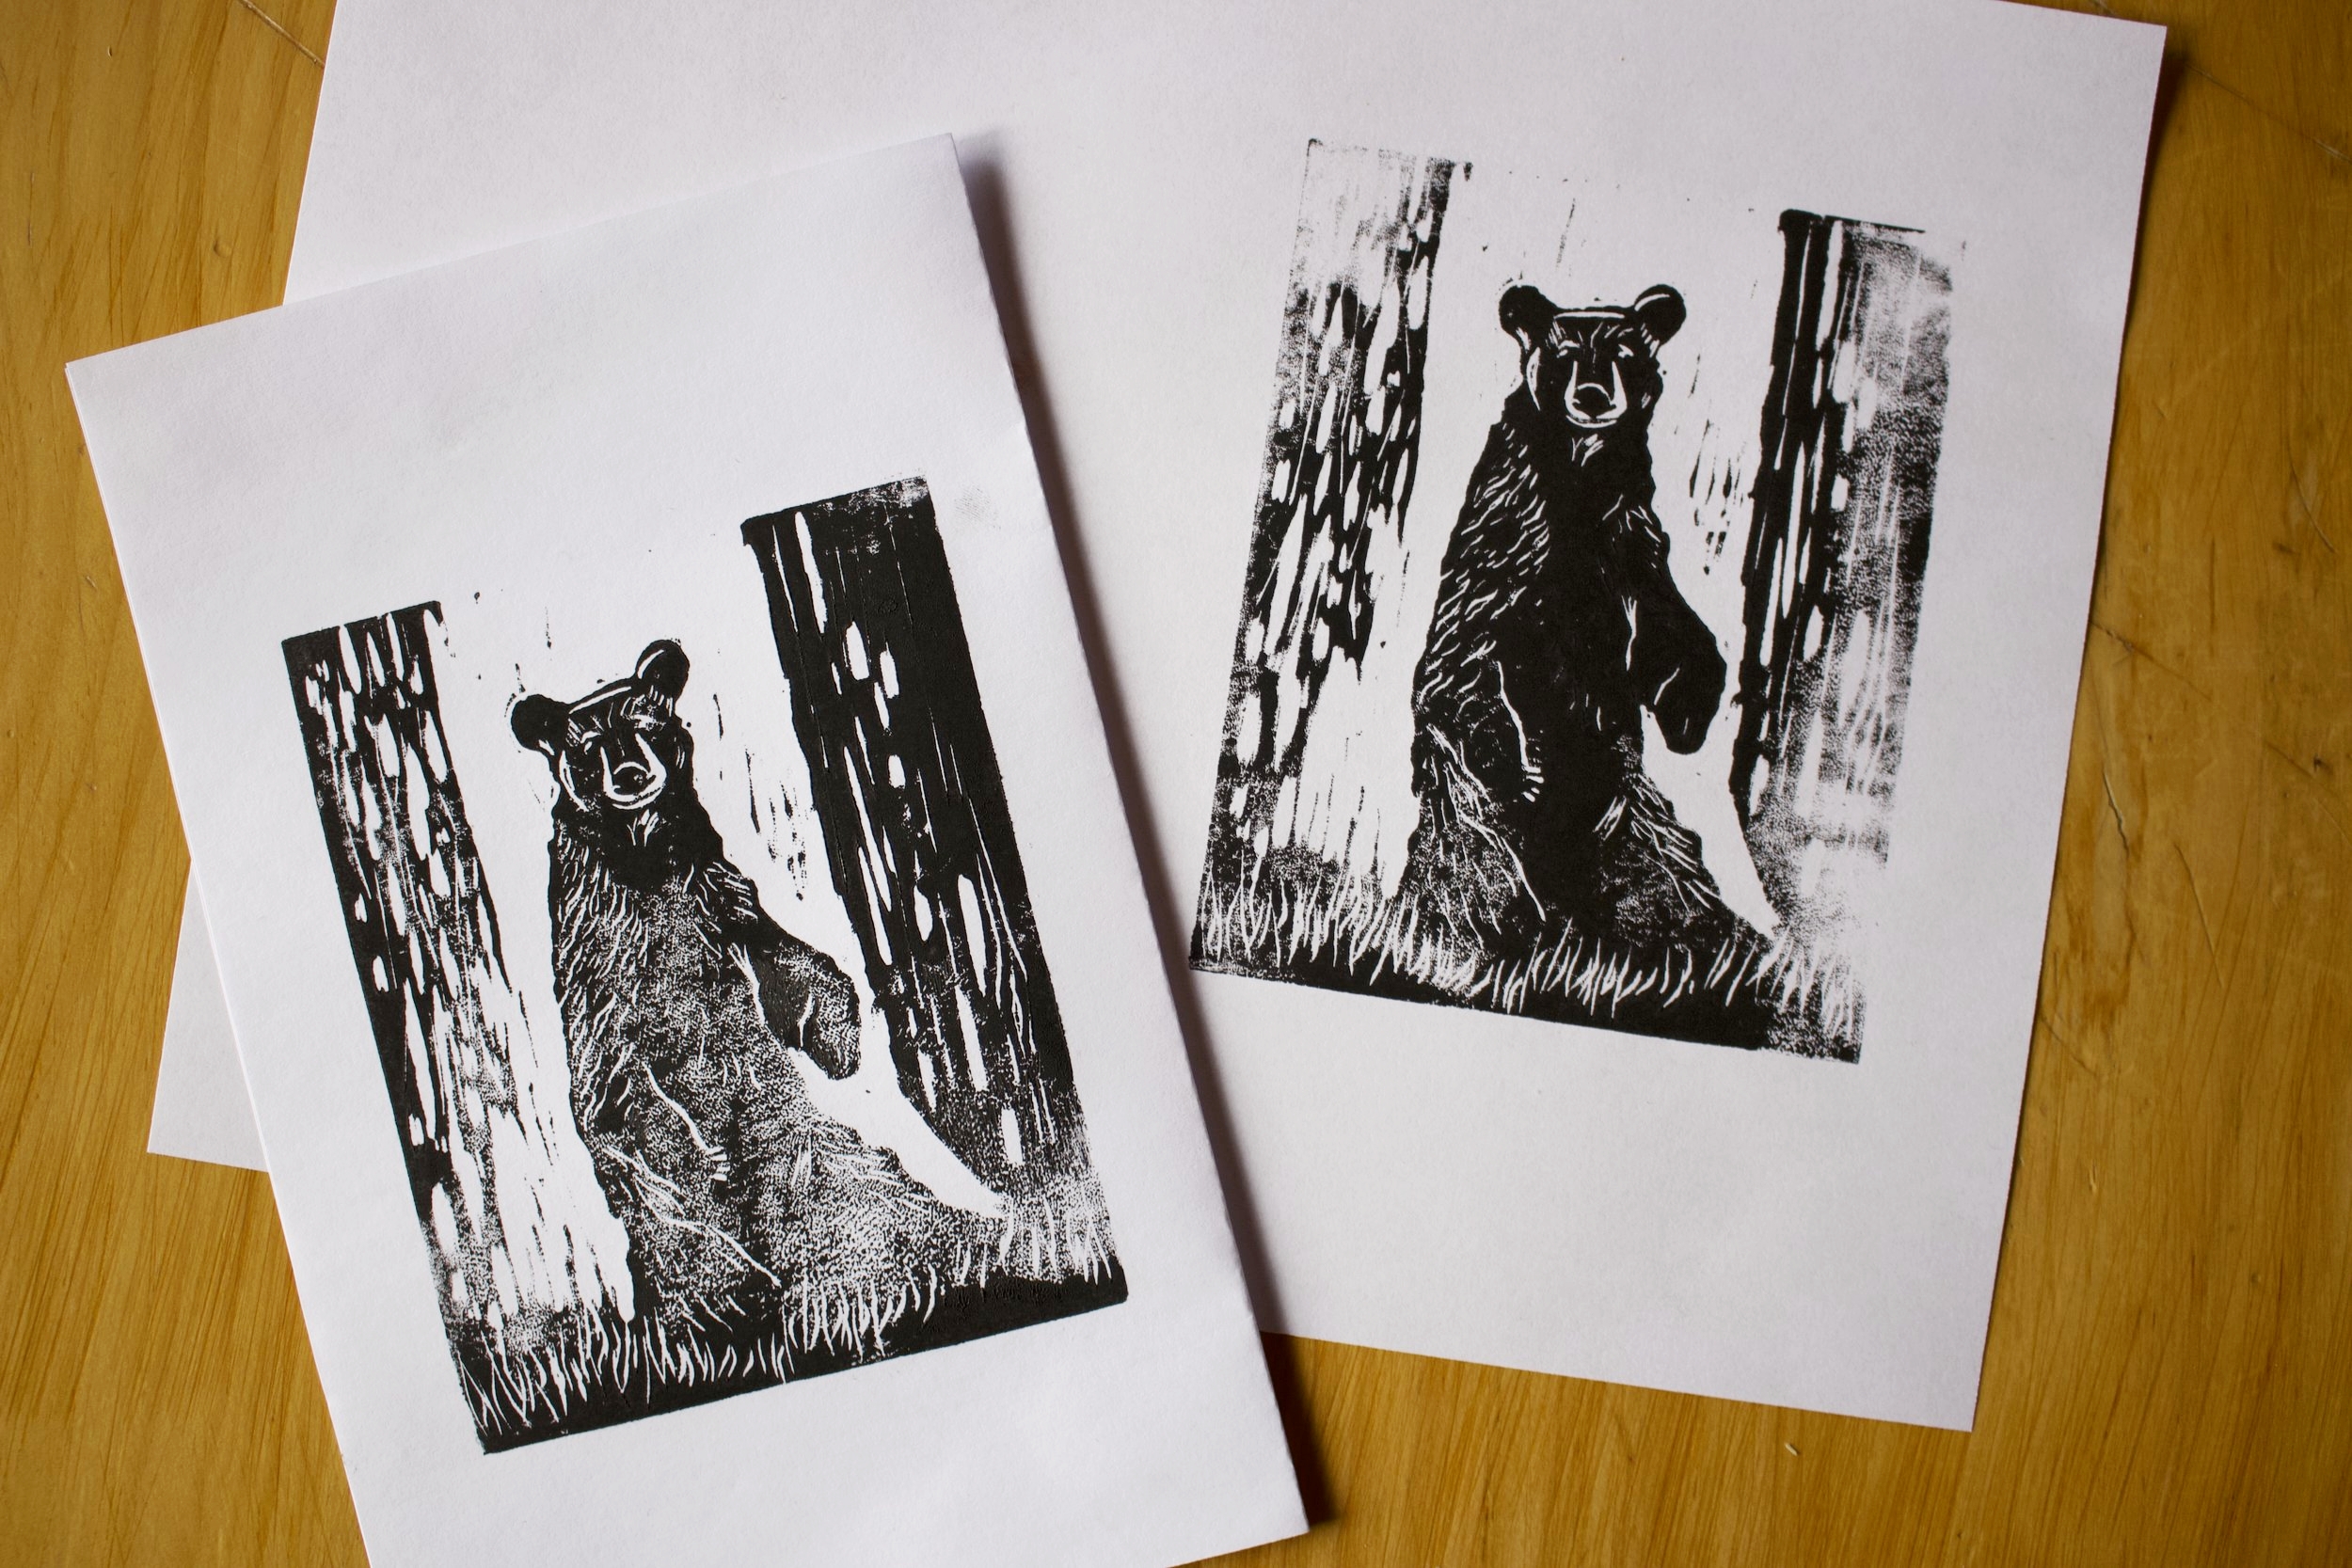
It took a couple of tries to get my prints to turn out nicely. I had to experiment with different amount of ink. If you use too much, the ink will go in the cracks of your lino block and your design will have less detail, if you use too little your print will be patchy in some areas.
I used a block printing beginner starter kit for this project. It came with the linoblock, ink, carving tools and an ink roller and tray. Finding these materials might be a challenge if you are new to this type of project.
What you'll need:
- Pattern or photo
- Block printing starter kit